Office 365
Overview
This guide documents O365 federation with SafeNet Trusted Access (STA) and various related aspects.
Prerequisites
In order to successfully follow this guide the following prerequisites must be met:
You have Operator privilege on a SafeNet Trusted Access (STA) tenant
You have Administrator privilege on the O365 domain to be federated
Federating Office 365 to SafeNet Trusted Access
Advanced Configuration
When working with Microsoft Azure or O365 in particular it is important to understand how users are identified, referenced or mapped. Starting with your on-premise footprint: in Active Directory (AD) a user is uniquely identified using the ‘User Object GUID’ (ObjectGUID) attribute. If you want to see this value you might look at the Attributes tab (Show > Advanced Features) on the user record in ADUC or you may execute a simple PowerShell command.
O365 is typically setup based on synchronizing AD user objects to an Azure AD (AAD) tenant. This sync, facilitated by the Azure AD Connect service uses a ‘Source Anchor’ (SourceAnchor) attribute based on the a selected AD attribute: most typically the ObjectGUID. To be particular the SourceAnchor attribute is a Base64 encoding of the select attribute. Now, once synchronized to AAD (O365) the attribute is named the ‘Immutable ID’ (ImmutableId). This attribute has the same value as the SourceAnchor, which again is most commonly a Base64 encoding of the ObjectGUID.
The following picture shows how the attribute and value is referenced across the architecture:

Install prerequisite PowerShell modules
If you have already used PowerShell (PS) to configure O365 then disregard the following section - these modules would have been installed by the Thales O365 integration script.
To install the required PS modules:
Open a PowerShell terminal
Install the Azure AD PowerShell module:
Install-module AzureAD
Install the Microsoft Online PowerShell module:
Install-module MSOnline
Accessing Microsoft Online
With the required PowerShell modules installed, the next step is to connect to Microsoft Online and authenticate as a privileged user (global admin) in order to then perform actions in that context.
Open a PowerShell terminal
Connect to Microsoft Online:
Connect-MsolService
When prompted, provide the email and password of your admin user
Obtaining the Immutable Id
The following command examples details approaches to obtaining the Immutable Id for a given user or for all users of an O365 domain.
List the UPN, GUID and Immutable ID for a given user (where “<UPN>” is replaced with the value):
Get-MsolUser -UserPrincipalName <UPN> | Select-Object UserPrincipalName, ObjectId, ImmutableId
List the UPN, GUID and Immutable ID for all users:
Get-MsolUser -All | Select-Object UserPrincipalName, ObjectId, ImmutableId
Tip
If you intend to change the attribute you can write the original value to file to support a later reversion using the following command:
Get-MsolUser -UserPrincipalName <UPN> | Select * > <path\filename>
Changing the Immutable Id
The immutable id can be changed for a given user using the following command. Make sure to save the original value (if present) prior to command execution.
Setting the attribute:
Set-MsolUser -UserPrincipalName <UPN> -ImmutableId <value>
Note
As discussed, the value of ImmutableId (by default) is a Base64 encoding of the user ObjectGUID. In theory, if you wanted to follow the original convention you can Base64 encode the ObjectGUID value. Multiple tools and scripts have existed for this purpose and PowerShell also has the native capability to support the conversion using: ToBase64String. If you do take this approach, validate the conversion for correctness by sample decoding to obtain a string matching the original ObjectGUID.
Configuring the user in SafeNet Trusted Access
The following section details how to configure the user in STA using the admin console (GUI) and RESTful API.
The goal here is to make note of an attribute name with a value that is uniquely identifiable e.g. email, and also present in O365.
A better approach still might be to create the expected mapping attribute for O365 using an existing available attribute key e.g Custom #1 and giving it the value of ImmutableId.
Using the administration console
To view, edit and save attributes on a STA user:
Open a browser and navigate to SafeNet Trusted Access
Authenticate as operator and then navigate to the Assignment tab
Either leave all fields empty or provide search parameters and then click Search
Click on a user to view its details including visible attributes
Click Edit to make changes to the user attributes
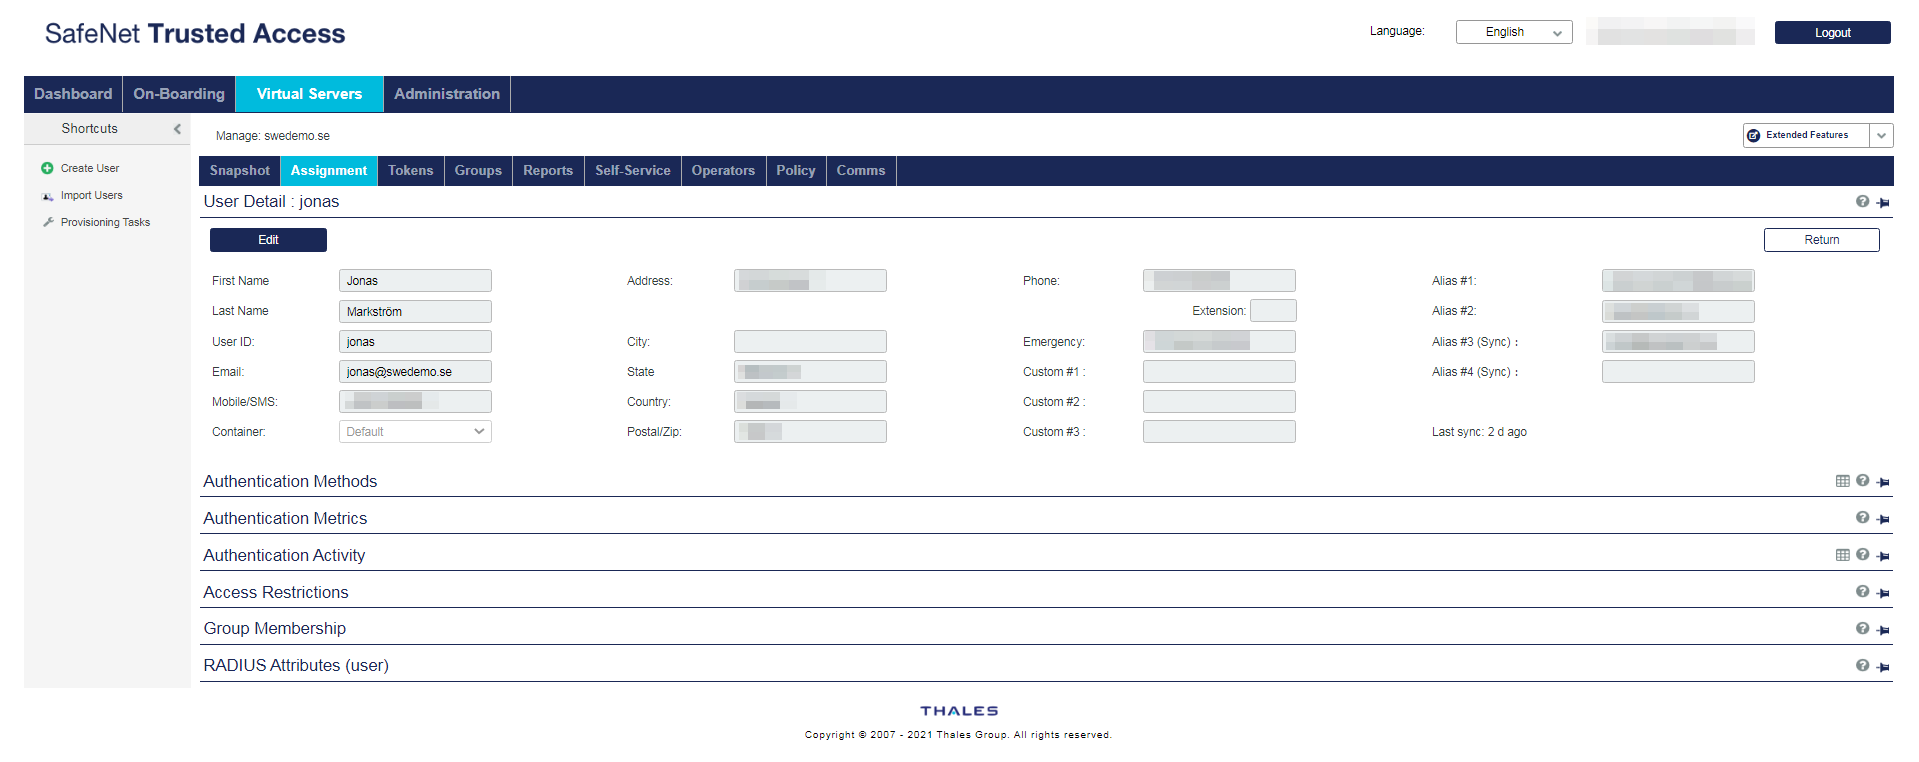
Click Apply to save any changes.
Note
Note that the available editable fields will differ if the user is synchronized from LDAP or created in STA directly using GUI or any of the provided management API’s.
Configuring the O365 application template in SafeNet Trusted Access
This section details how to change the return attribute to match the changes to the user record and/or to match the expected attribute in O365/AAD. Please refer to the official STA documentation of initial and overall configuration and setup of the integration.
Important
The following steps assumes the app integration already exists.
Using the administration console
To change the return attribute in STA:
Open a browser and navigate to SafeNet Trusted Access
Authenticate as operator and then navigate to the Applications vertical tab
Locate Office 365 in your list of apps
Click on the Name ID value to expand the drop-down of selectable values
Select the attribute hosting your uniquely identifiable user value to be passed to O365 on successful STA authentication. For example if you used
Custom #1to host the value ofImmutableIdthen you would select it here.
Scroll down and click Save Configuration.