Cisco ASA SSL VPN and Cisco AnyConnect Client with SafeNet Trusted Access using SAML 2.0
Overview
This guide shows how to implement adaptive authentication with strong contextual security policies to Cisco ASA SSL VPN and Cisco AnyConnect Client using SAML federation with SafeNet Trusted Access
Prerequisites
Cisco ASA 9.7.1.24 and above
Cisco AnyConnect 4.6 and above
A user with a SafeNet Trusted Access authenticator enrolled
Users can authenticate using SafeNet Trusted Access
SafeNet Trusted Access Configuration
Create Cisco ASA Application in SafeNet Trusted Access
Note
Open SafeNet Trusted Access Console (you can use the following direct links based on your availability zone, opens in a new tab)
US Zone SafeNet Trusted Access Console
EU Zone SafeNet Trusted Access Console
Classic Zone SafeNet Trusted Access Console
In the STA Console, add Cisco ASA application by following these steps:
In Applications tab, click on the + button and search for Generic Template

Name the application and choose SAML for the Integration Protocol

Optional - Change the Application Logo by clicking on the default icon. You can download Cisco ASA logo icon
here
Clcik Add to add the Cisco ASA Application
Switch to Manual Configuration

Download STA Tenant Certificate by clicking Download

Note both STA Tenant Issuer/Entity ID and STA Single Sign-On Service URL

Click Next Step
Note
For the next step, leave the STA Application configuration and login to Cisco ASA using ASDM to configure SAML settings that will generate the Metadata file to be imported into the STA Cisco ASA Application to complete the STA Cisco ASA Application configuration
Cisco ASA Configuration
Certificates Configuration
Login to Cisco ASDM
Click on Configuration

Click on Remote Access VPN

Expand Certificate Management
Note
The CA Certificates section is where the STA certificate will be imported to. The Identity Certificates section is where the Cisco ASA SP certificate will be created

Click on CA Certificates and click on Add

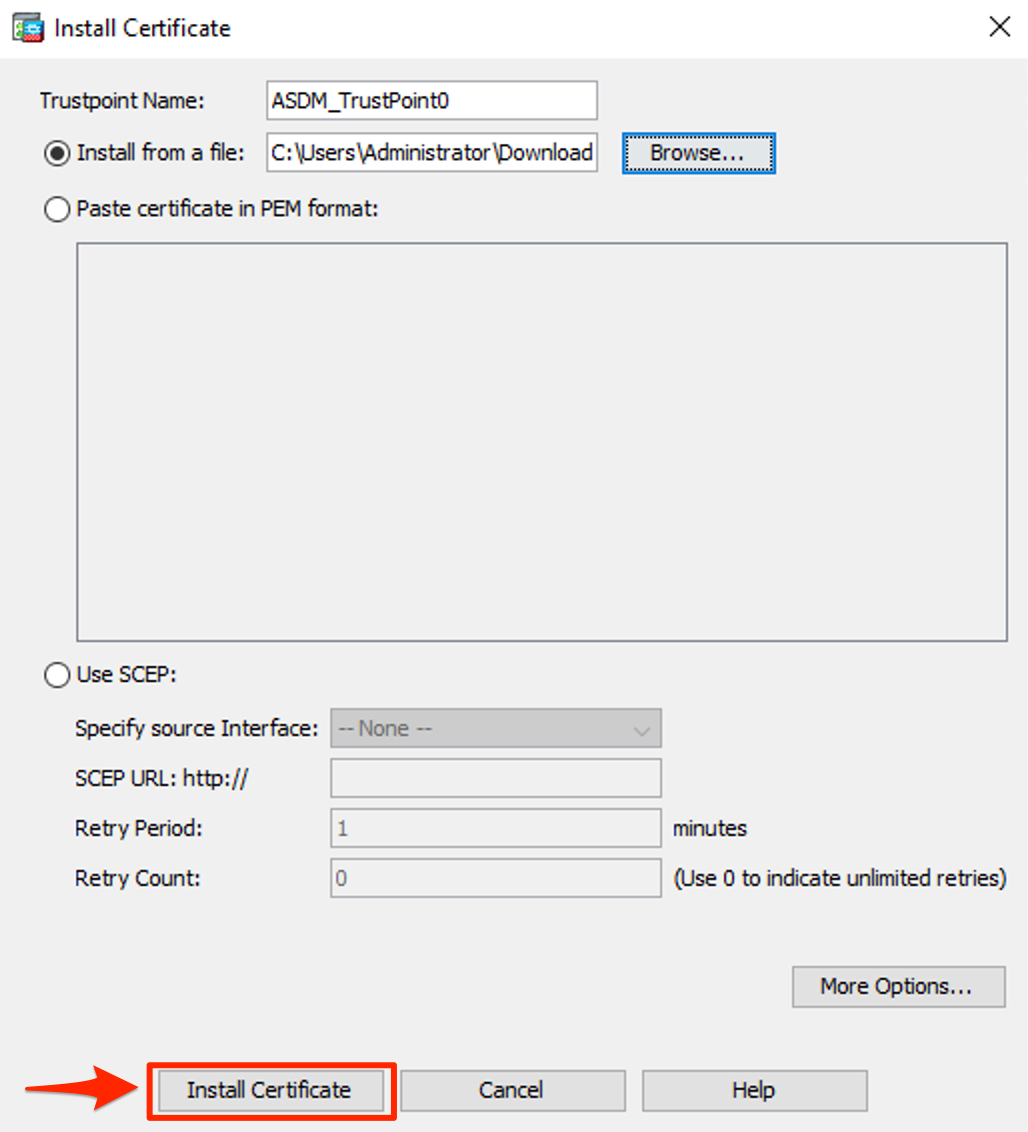
Enter a Trustpoint Name for the STA certificate and browse to the certificate file that was downloaded in in this step

Select the file and click Install

Click Install Certificate
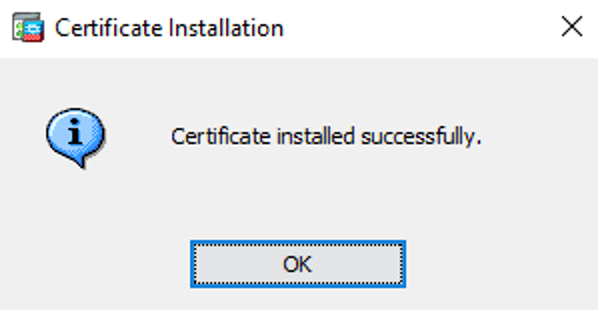
Certificate is installed. Click OK
Import or create a new Cisco ASA Identity Certificate. Enter a Trustpoint Name and select to import a PFX or generate a self-signed certificate

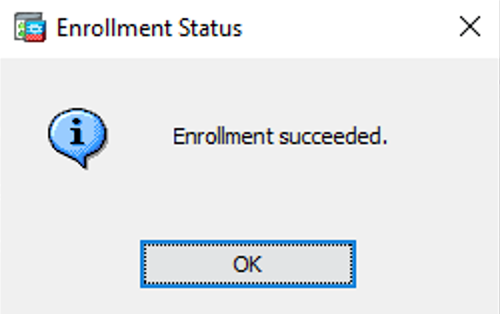
Click Add Certificate

Click OK
Configure Single Signon Server
Navigate to Clientless SSL VPN Access -> Advanced -> Single Signon Servers and click on Add

Fill in the details based on the information collected in this step
Important
Do not paste https:// from STA Logon links, use the drop down menues to select https, except for IDP Entity ID
Cisco ASA SAML Setting |
Note |
|---|---|
IDP Entity ID: |
STA Issuer/Entity ID (including https) |
Sign In URL: |
STA Single Sign On Service URL |
Sign Out URL: |
Leave empty |
Base URL: |
Cisco ASA URL |
Identity Provider Certificate: |
Select IDP Certificate created in this step |
Service Provider Certificate: |
Select SP Certificate created in this step |
Request Signature: |
Select rsa-sha256 |
Request Timeout: |
Type in value in seconds, e.g. 7200 |

Click OK
Configure SSL VPN Connection Profile
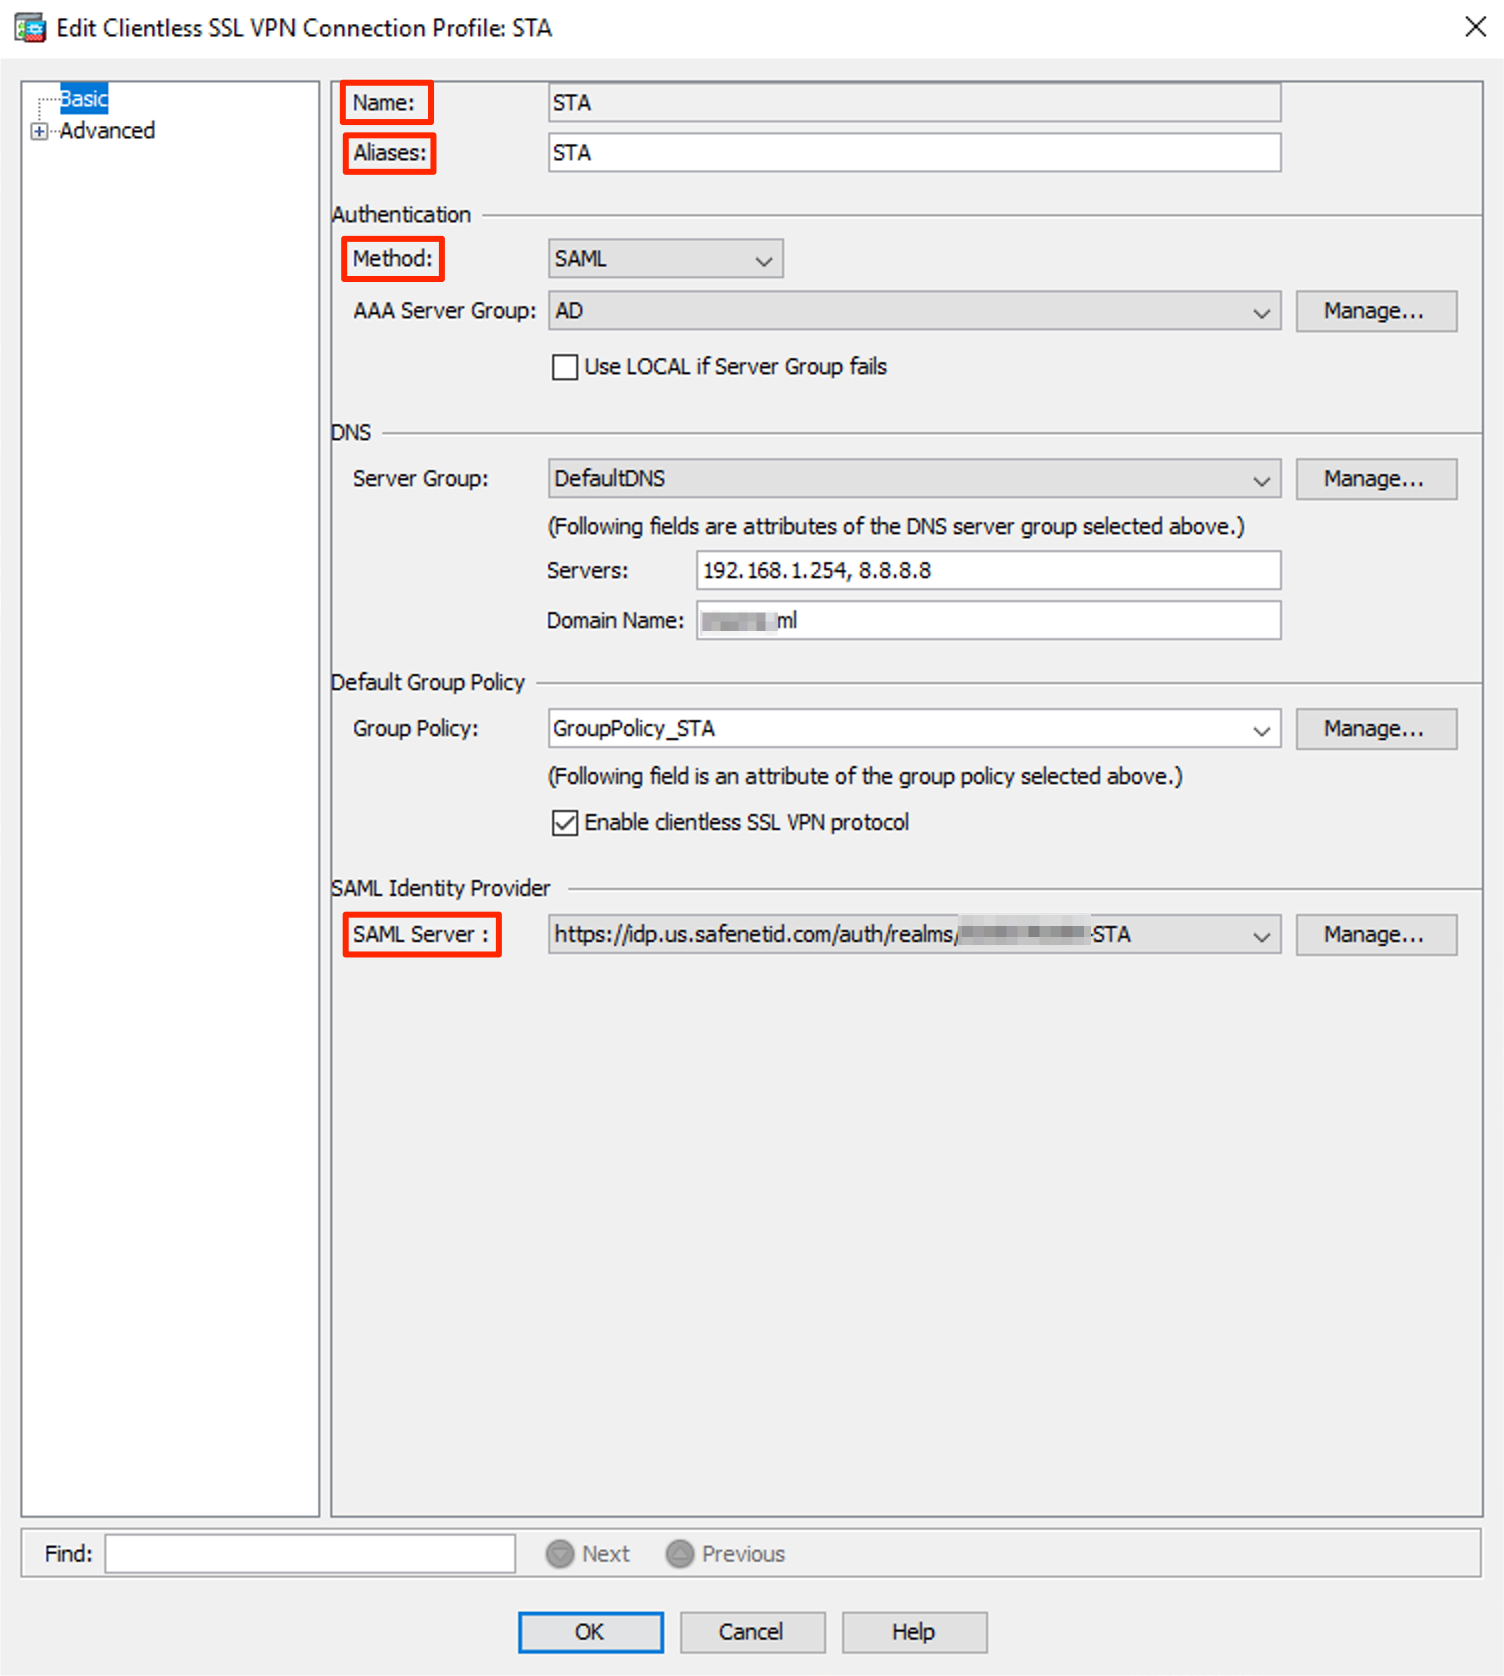
Navigate to Clientless SSL VPN Access -> Connection Profiles and click on Add

Enter Name and Alias
Note
Alias is used to allow users to select the Connection Profile during connection
Select SAML Authentication Method
Select the SAML Server created in the previous step as the SAML Identity Provider
Expand Advanced and click on Clientless SSL VPN
Make sure Alias is Enabled

Click OK
Click Apply and Save to save the configuration
Configure AnyConnect VPN Connection Profile
Important
To be able to configure AnyConnect VPN settings, AnyConnect Client image has to be uploaded to Cisco ASA, the image can be downloaded from Cisco support site. The download requires a valid Cisco support contract.
Navigate to Network (Client) Access -> AnyConnect Connection Profiles and click on Add

Enter Name and Alias
Note
Alias is used to allow users to select the Connection Profile during connection
Select SAML Authentication Method
Select the SAML Server created in the previous step as the SAML Identity Provider

Expand Advanced and click on Group Alias/Group URL
Make sure Alias is Enabled

Click OK
Click Apply and Save to save the configuration
Note
Configure any additional VPN settings such as IP Assignment, DNS, Split Tunnel, Published Applications etc. as required
Download the Cisco ASA SAML Metadata
In a browser, navigate to https://<fqdn-asa>/saml/sp/metadata/<connection profile name>
Example of metadata:
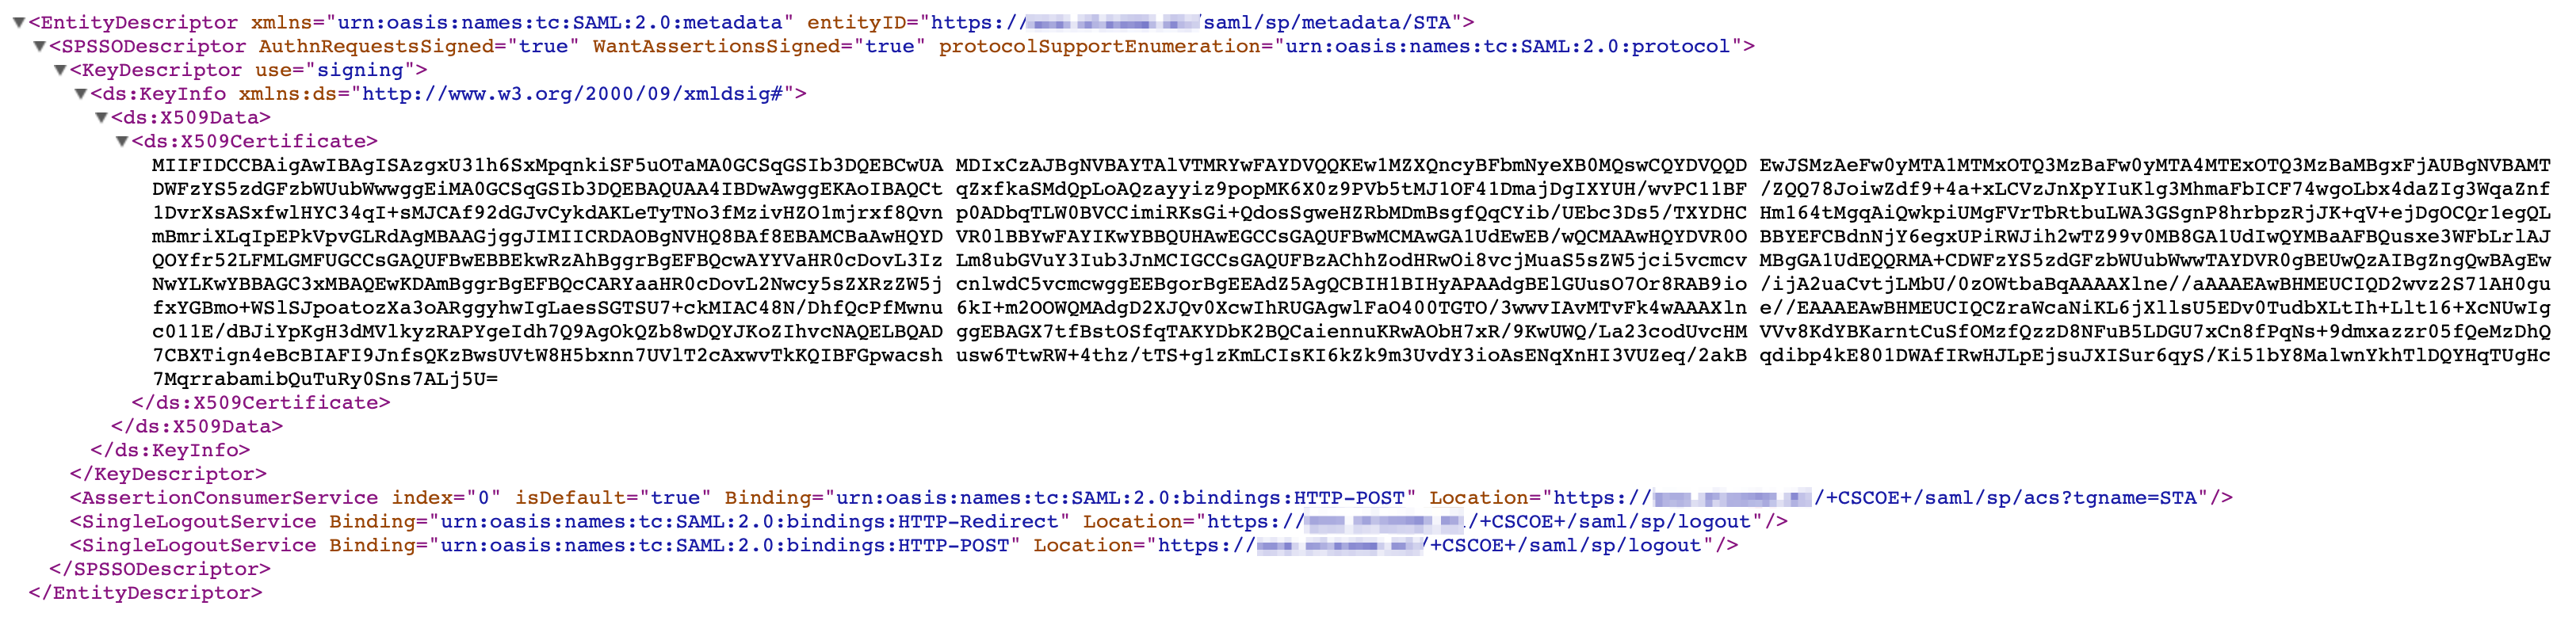
Save the metadata from the browser as file.xml
Complete STA Cisco ASA Application Configuration
Return to the STA Cisco ASA Application Configuration
Click Upload Generic Template Metadata

Click Browse and browse to the metadata file downloaded here
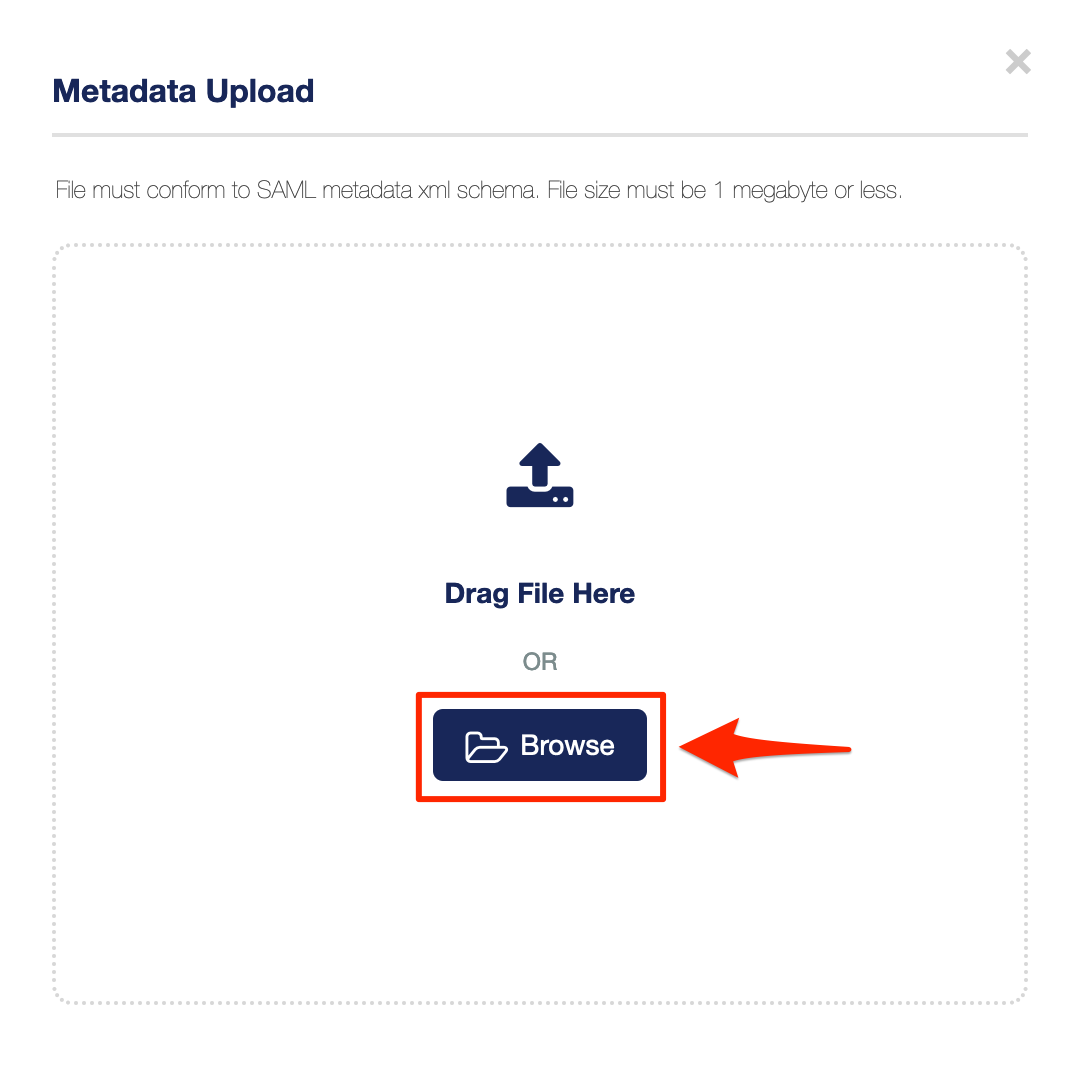
The metadta is uploaded and all the required configurations are automatically set

Under User Login ID Mapping, select SAS User ID

Click Save Configuration

Assign the Cisco ASA application to your target users by clicking on Assign and selecting All Users or Users from any of these user groups:
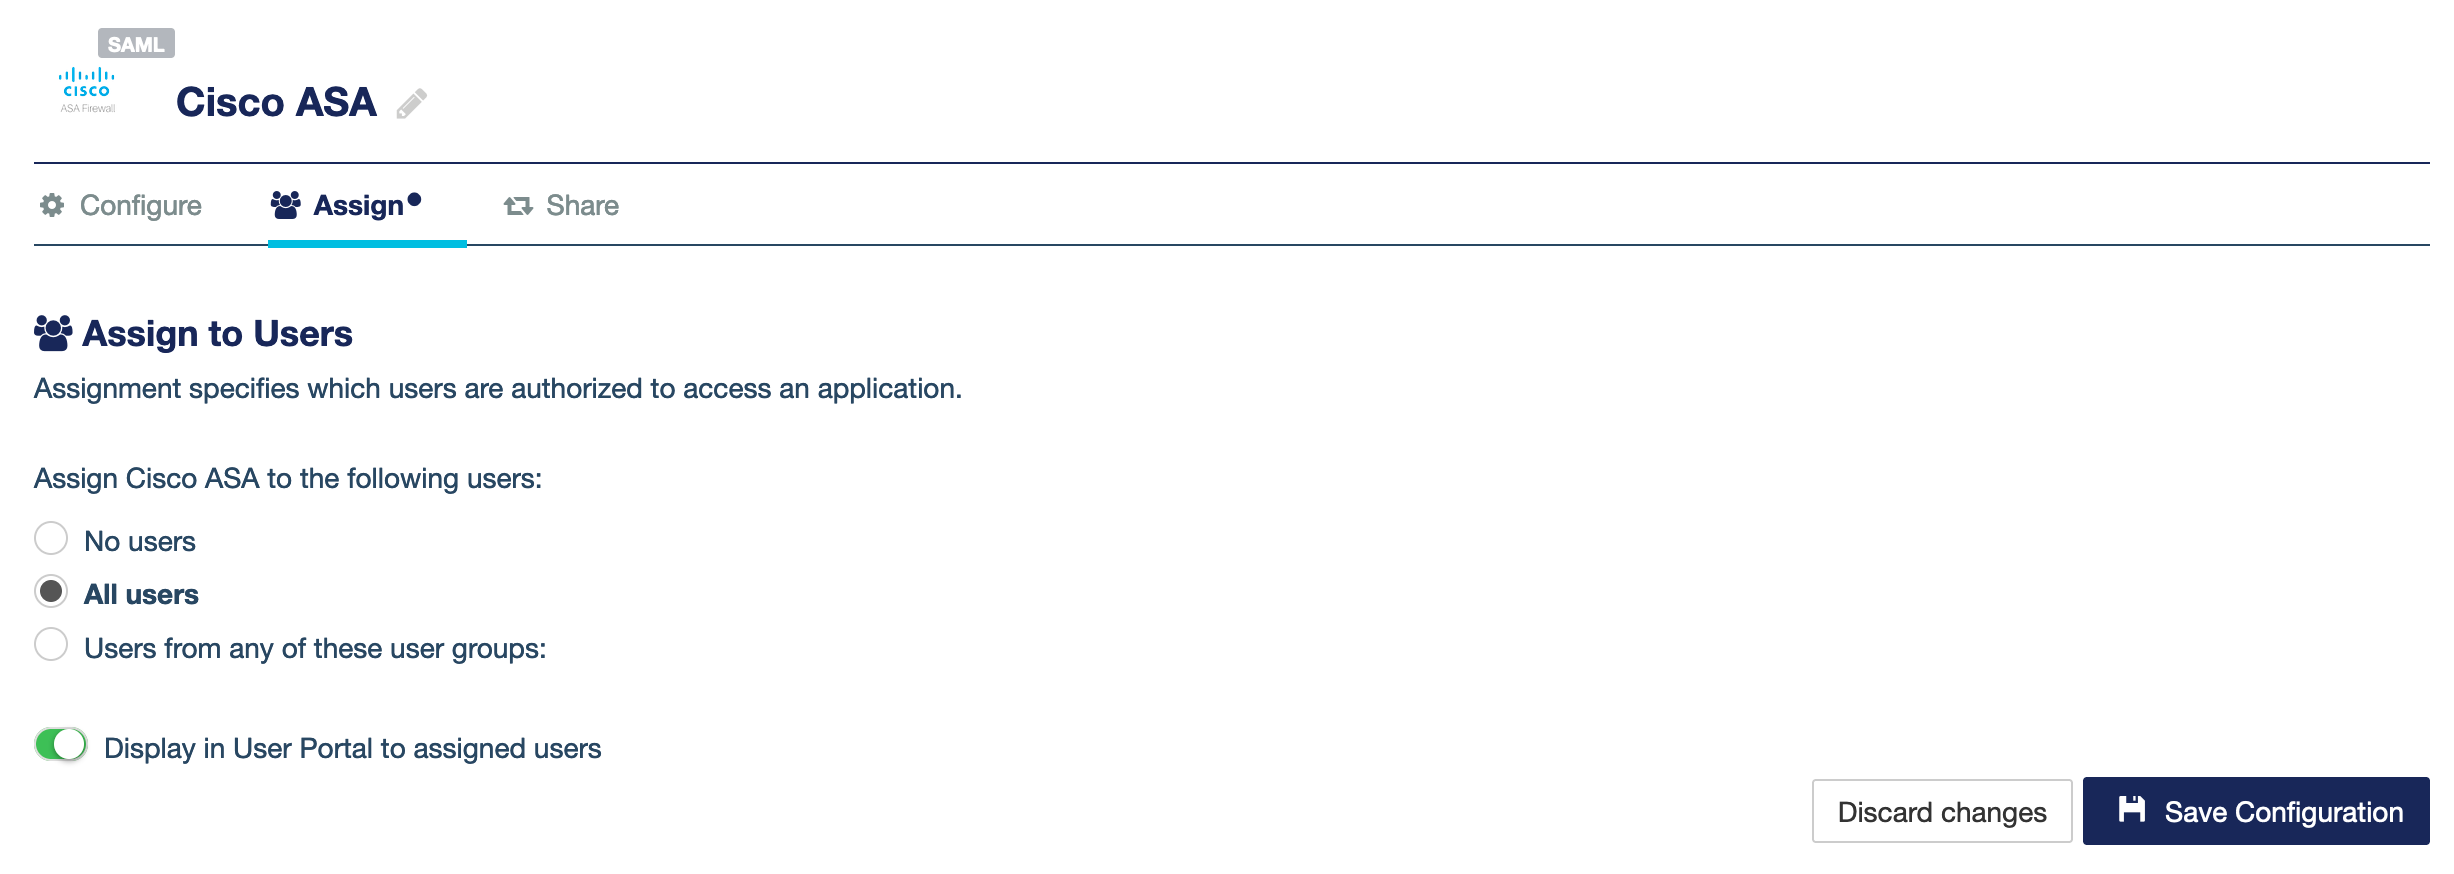
Click Save Configuration
Configure STA Authentication Policy
In the STA Console, create a new Access Policy for FortiGate application by following these steps:
Go to the Policies tab
Click + to add a new Policy
Name the new Policy, for example FortiGate VPN
Polcy Scope
Under Users, click All Users to apply to all users or Any of these User Groups: to apply to specifc User Groups
Under Applications, click Any of these Applications, click in the field and select Cisco ASA application
Default Requirements
Select the desired authentication method for example Password and Every access attempt and Token Based Authentication (OTP) and Every access attempt
Click Save to save the new Policy

The SafeNet Trusted Access configuration of the Cisco ASA application is complete
Test the solution
Using Cisco ASA SSL VPN Portal
Navigate to the Cisco ASA SSL VPN URL
Click Login
Authenticate in STA, using all required credentials, based on the STA Authentication Policy

Using SafeNet Trusted Access User Portal
Navigate and login to the SafeNet Trusted Access User Portal
Click on the Cisco ASA Application
You are redirected and logged in to the Cisco ASA SSL VPN Web Portal

Using Cisco AnyConnect VPN Client
Launch the Cisco AnyConnect Client on the client machine
Type in the Cisco ASA VPN URL and click Connect to initiate the connection
Authenticate in STA, using all required credentials, based on the STA Authentication Policy
