Azure Conditional Authentication Factors with SafeNet Trusted Access
Overview
Azure Conditional Authentication Factors (Custom Controls) allows extending the Azure Active Directory authentication with a third party authentication provider, using OIDC protocol. When using custom controls, the users are redirected to SafeNet Trusted Access to satisfy authentication requirements outside of Azure Active Directory. To satisfy this control, a user’s browser is redirected to SafeNet Trusted Access, performs any required authentication, and is then redirected back to Azure Active Directory. Azure Active Directory verifies the response and, if the user was successfully authenticated or validated, the user continues in the Conditional Access flow.

Note
For more information about Microsoft Conditional Authentication Factors (Custom Controls), please visit https://docs.microsoft.com/en-us/azure/active-directory/conditional-access/controls
Prerequisites
Existing Azure Active Directory domain with Premium P1 subscription - (P1 or above is required for Conditional Access)
Test User synchronized to both AAD and STA - (matching UPN)
Configuration Steps
The configuration requires the following steps:
In SafeNet Trusted Access
Add Azure Conditional Authentication Factors application in STA
Copy the generated JSON code
Assign the application to users
In Azure Active Directory
Create Custom Control using the provided JSON code
Create Conditional Access policy to use the new Custom Control
SafeNet Trusted Access configuration
Note
Open SafeNet Trusted Access Console (you can use the following direct links based on your availability zone, opens in a new tab)
US Zone SafeNet Trusted Access Console
Create new Azure Conditional Authentication Factors Application
In the STA Console create a new application by following these steps:
Go to the Applications tab
Click + and search for Azure Conditional Authentication Factors, click it to select
(Optional) Rename the Application to a desired application name
Click Add to add the application to your library
The application is added and JSON code is generated:

Click Copy to copy the JSON code or Email to open a new email with JSON code pasted in and ready to send
Click Assign to assign the created application to the required users

Click Save Configuration to save the application
Configure STA Authentication Policy
In the STA Console, create a new Access Policy for Azure Conditional Authentication Factors application by following these steps:
Go to the Policies tab
Click + to add a new Policy
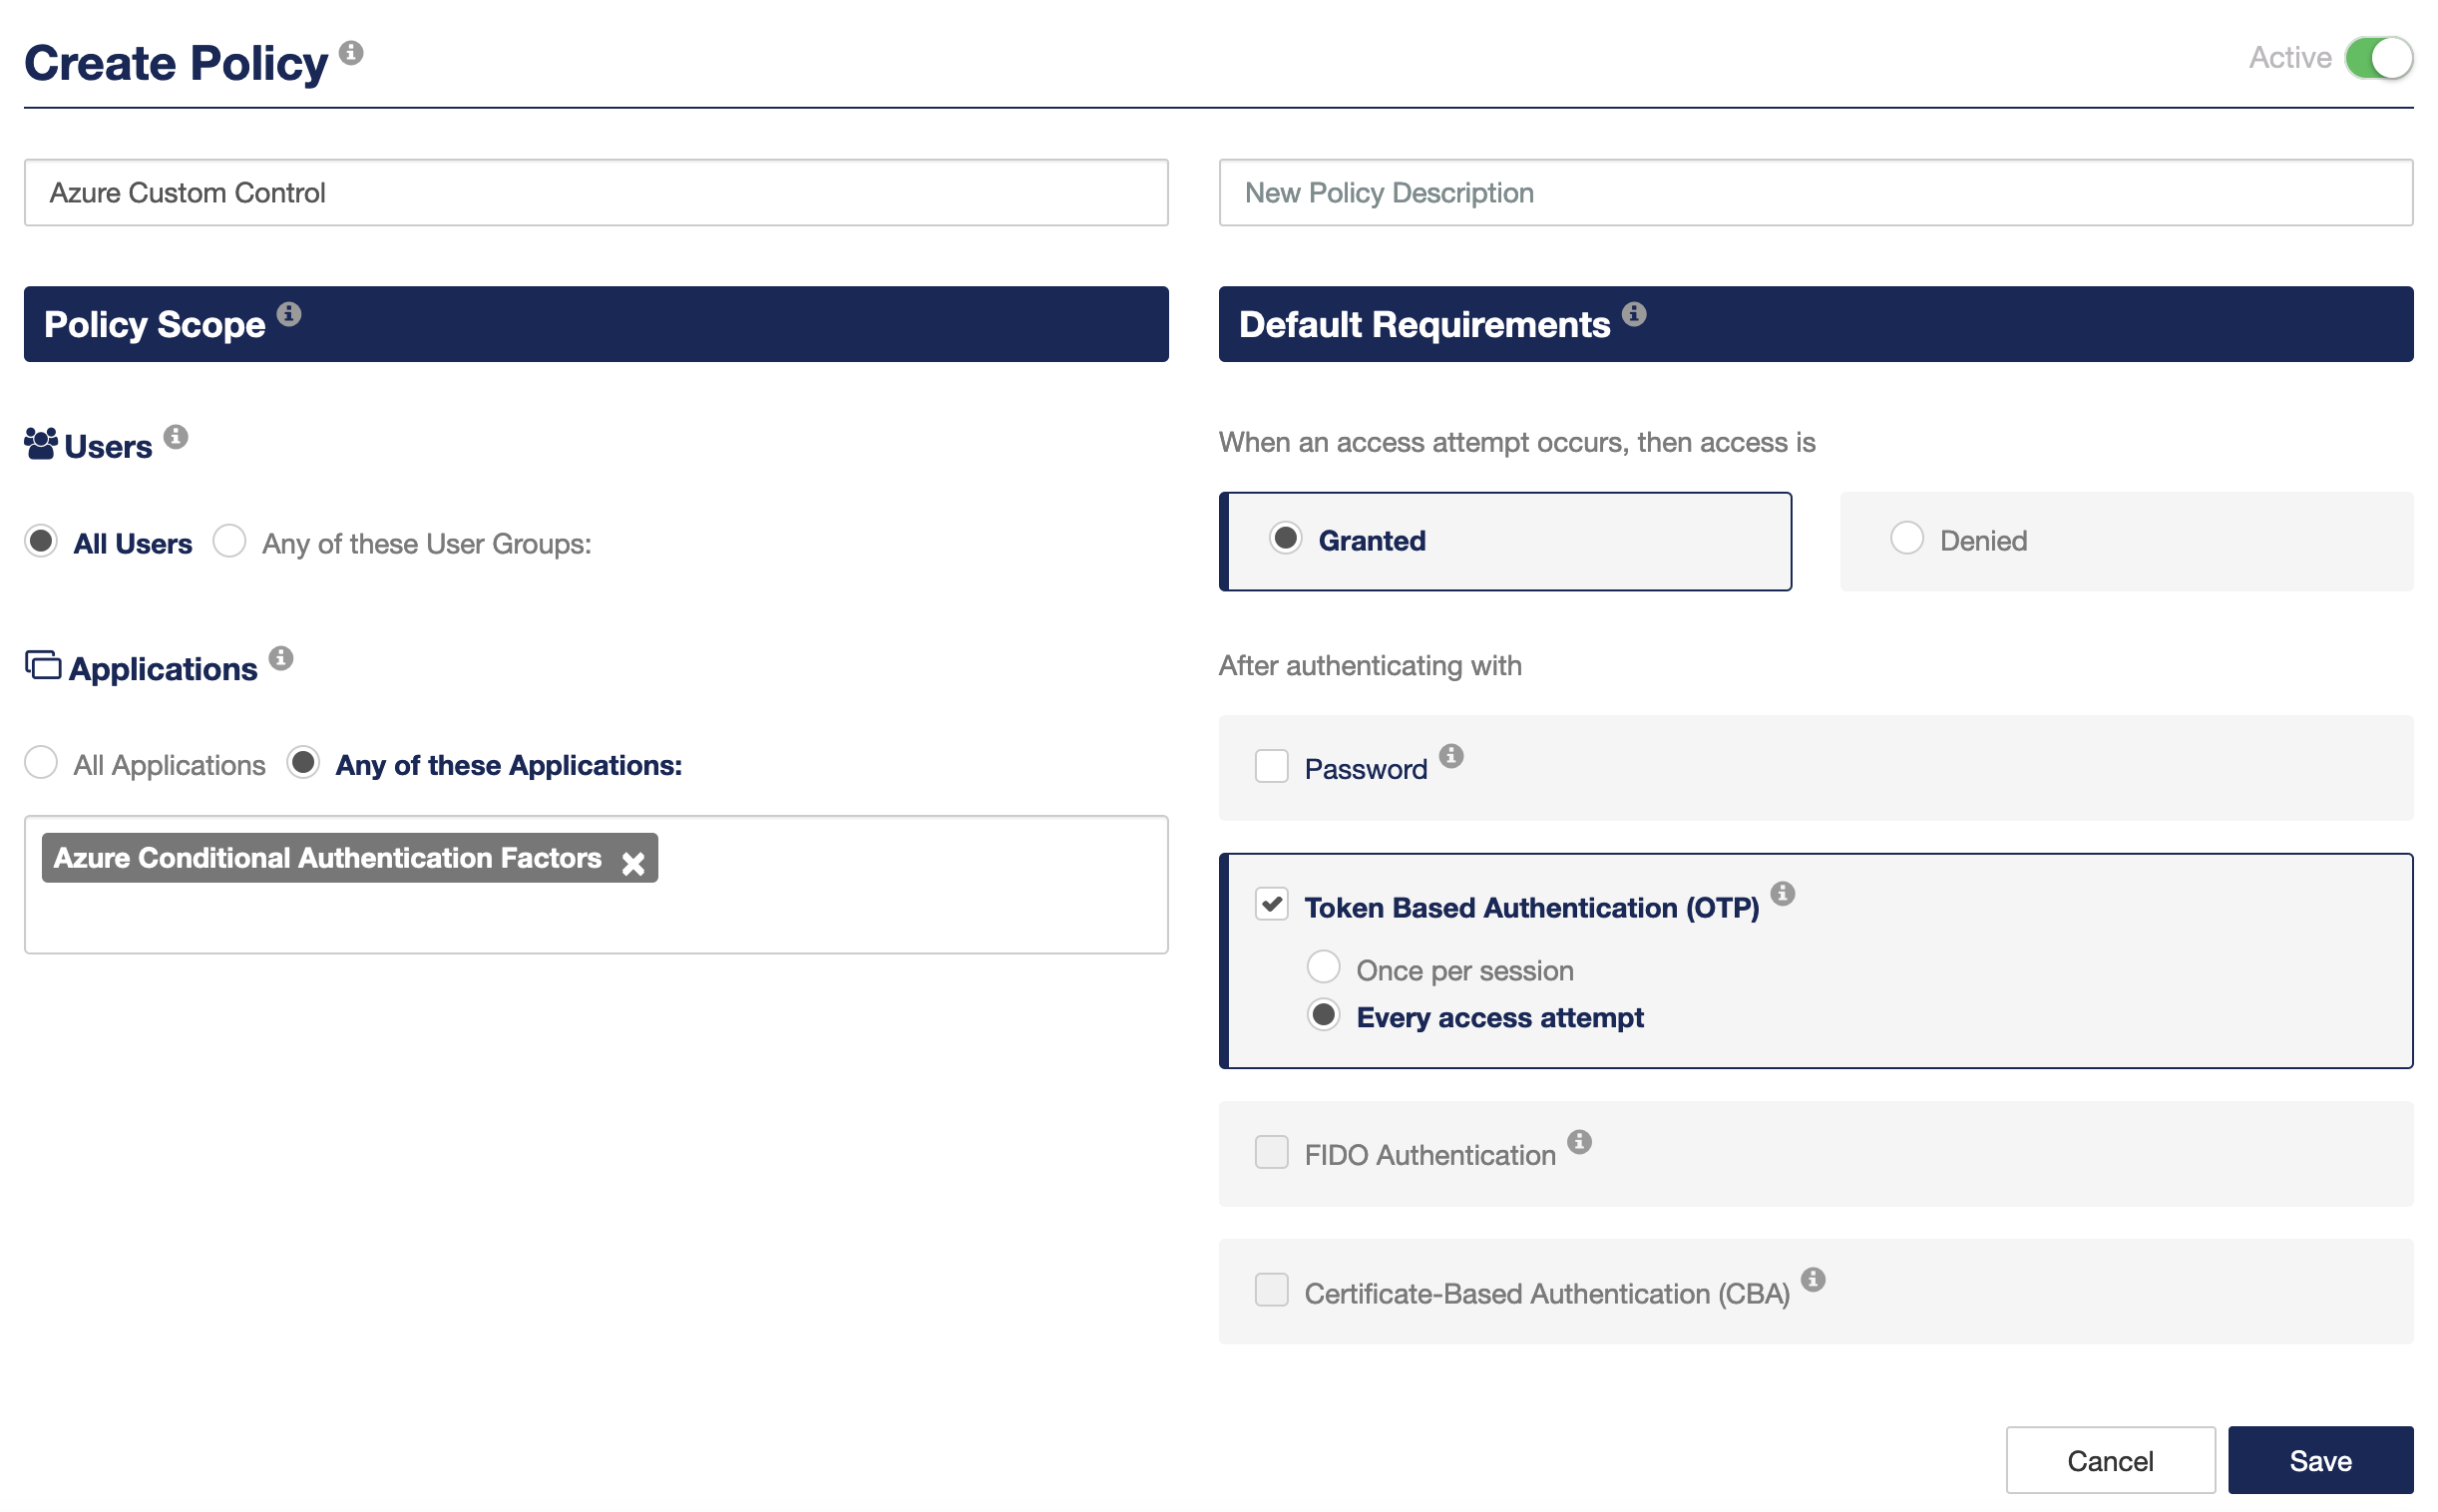
Name the new Policy, for example Azure Custom Control
Polcy Scope
Under Users, click All Users to apply to all users or Any of these User Groups: to apply to specifc User Groups
Under Applications, click Any of these Applications, click in the field and select Azure Conditional Authentication Factors application
Default Requirements
Select the desired authentication method for example Token Based Authentication (OTP) and Every access attempt
Click Save to save the new Policy
The STA configuration is complete
Azure Active Directory configuration
Note
Open Azure Active Directory console, (you can use the following direct link, opens in a new tab)
Azure Active Directory Console - Custom Controls
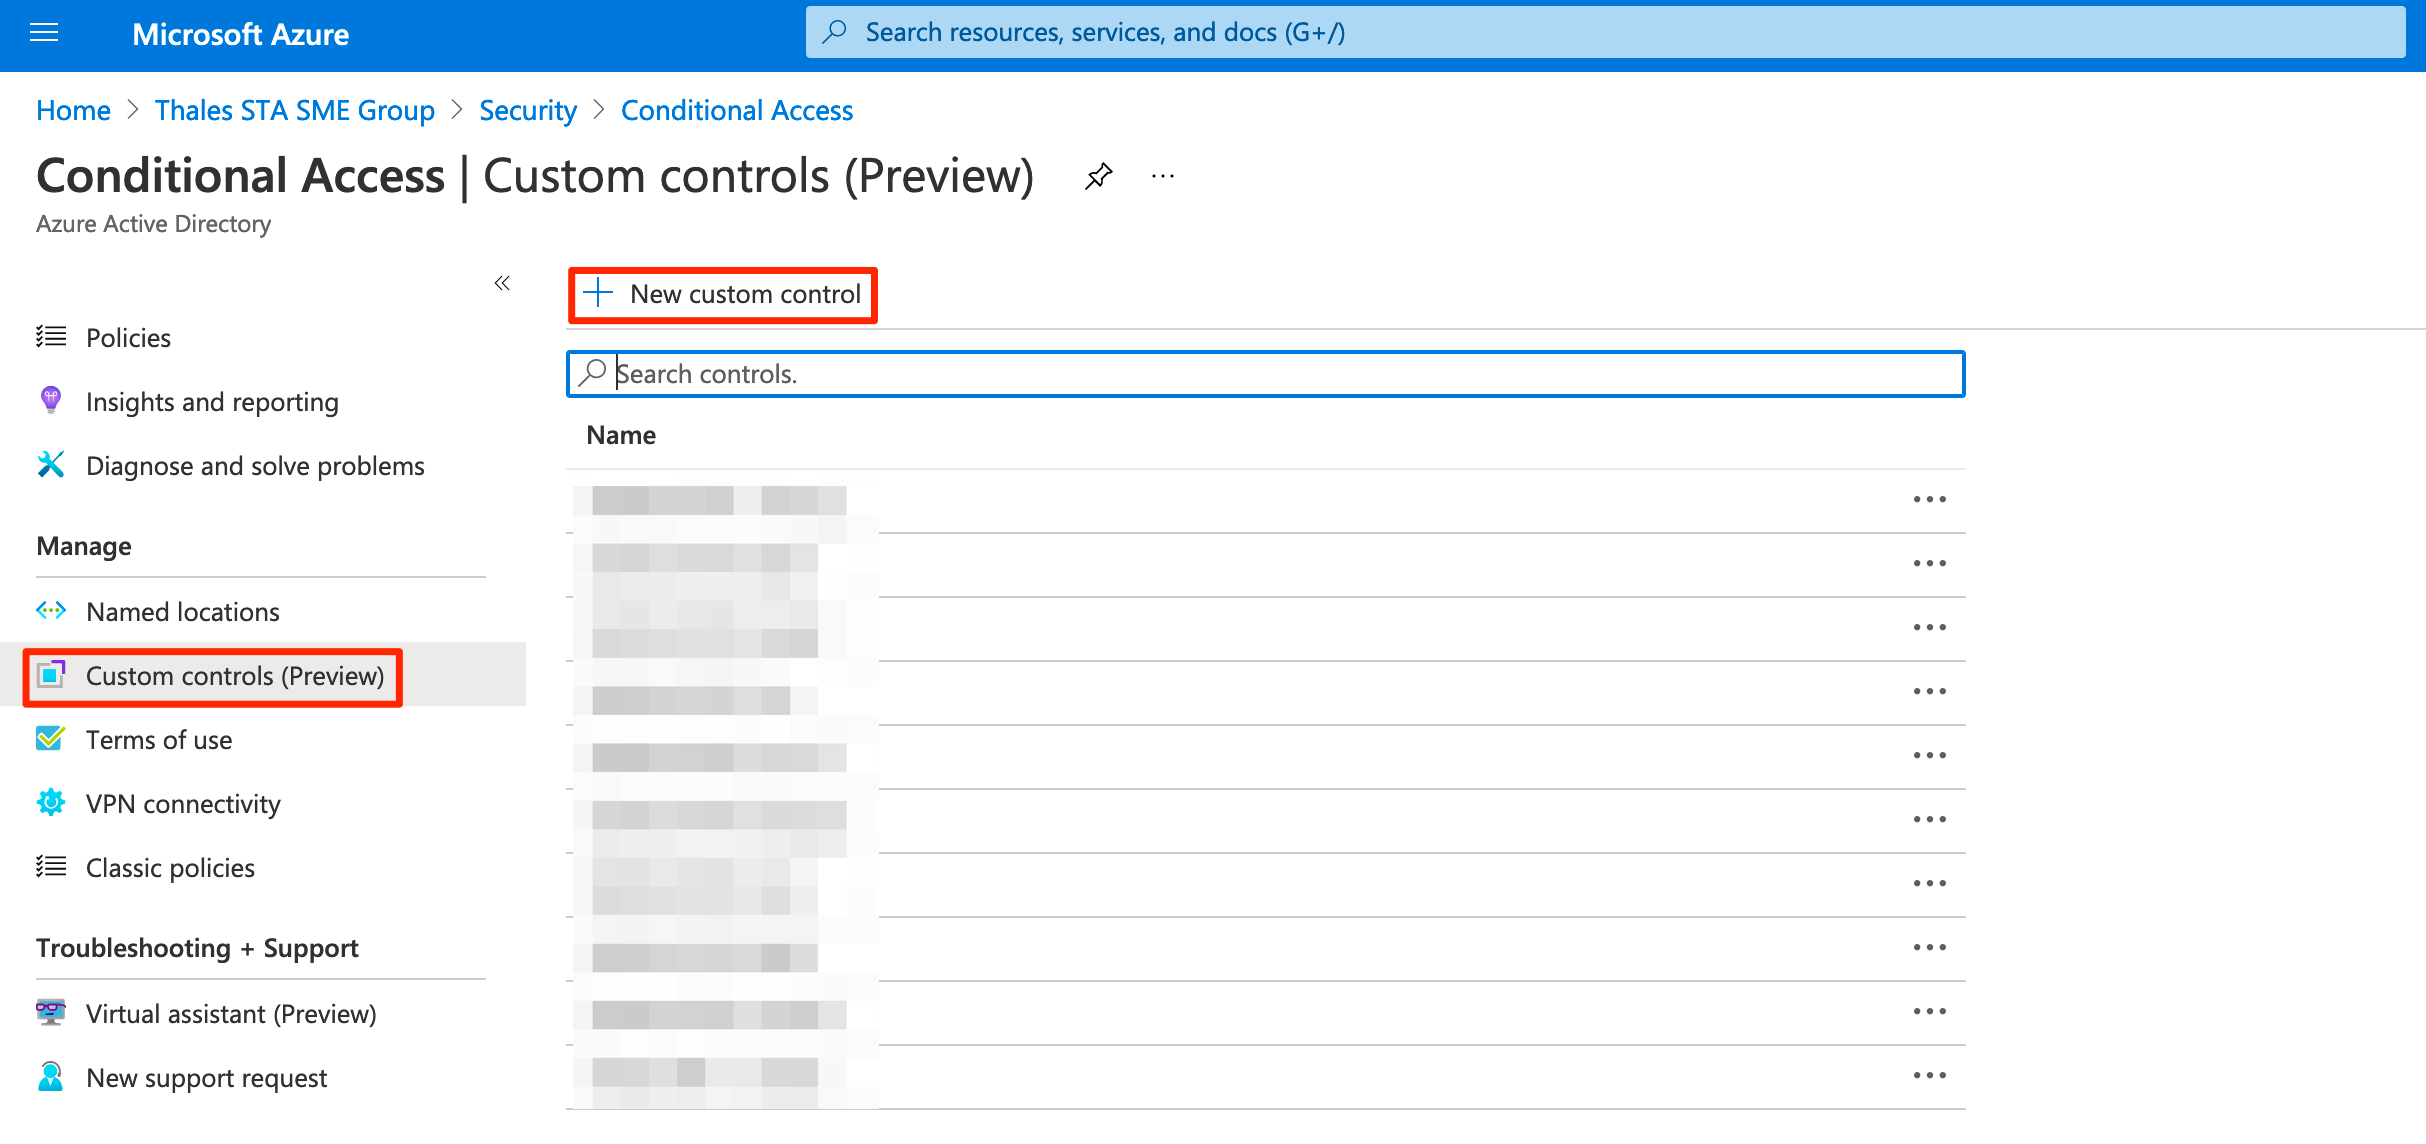
Create a new Custom Control
Click + New custom control
Delete the example JSON code provided from the text box
Paste the SafeNet Trusted Access JSON, created in this section, into the text box
Click Create to save the Configuration
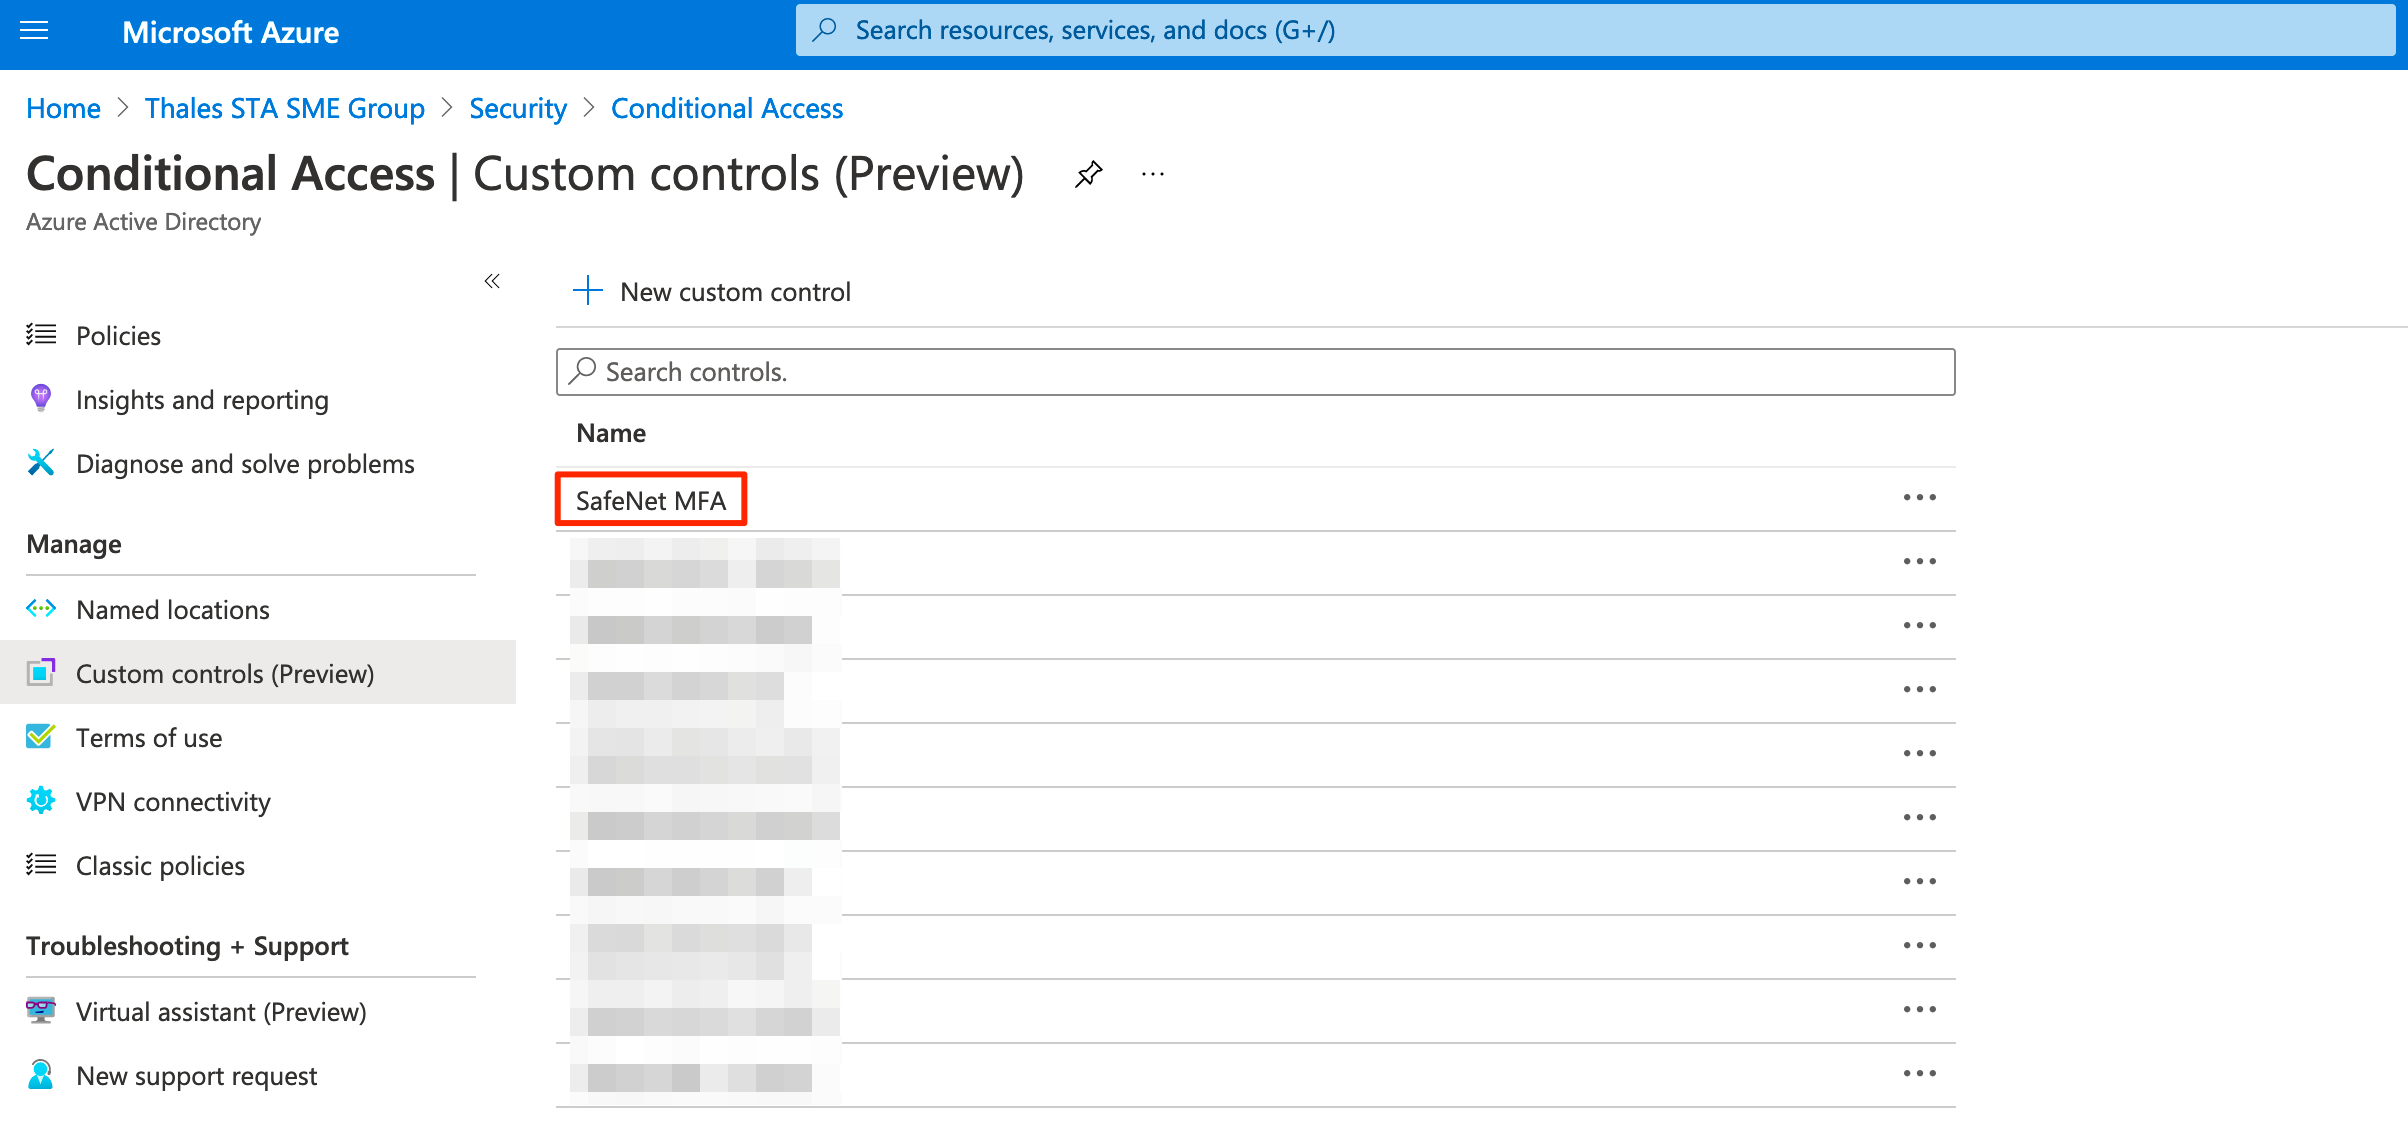
The new Custom Control is created with a default name SafeNet MFA
Create a new Policy to apply the new Custom Control
Click Policies
Click + New Policy
Name the new policy, for example Custom MFA for Cloud Applications
Assignments
Under Users and Groups, click 0 users and groups selected to open the user selection blade
Click All users to apply the policy to all users, or Select users and groups to apply the policy to specific users and groups

Under Cloud apps or actions, click No cloud apps or actions selected to open the application selection blade
Click All apps, to apply the policy to all applications, or Select apps to apply the policy to specific applications

Under Conditions, click 0 conditions selected to open the conditions blade
Select the conditions that are required for your policy

Access Controls
Under Grant, click 0 controls selected to open the grant selection blade
Make sure Grant access is selected and click SafeNet MFA to select the Custom Control created in this section, click Select

Enable Policy
To save the policy in Report only mode, click Report-only, to save and enable the policy, click On
Click Create to save and create your policy

The new policy is created
Testing the solution
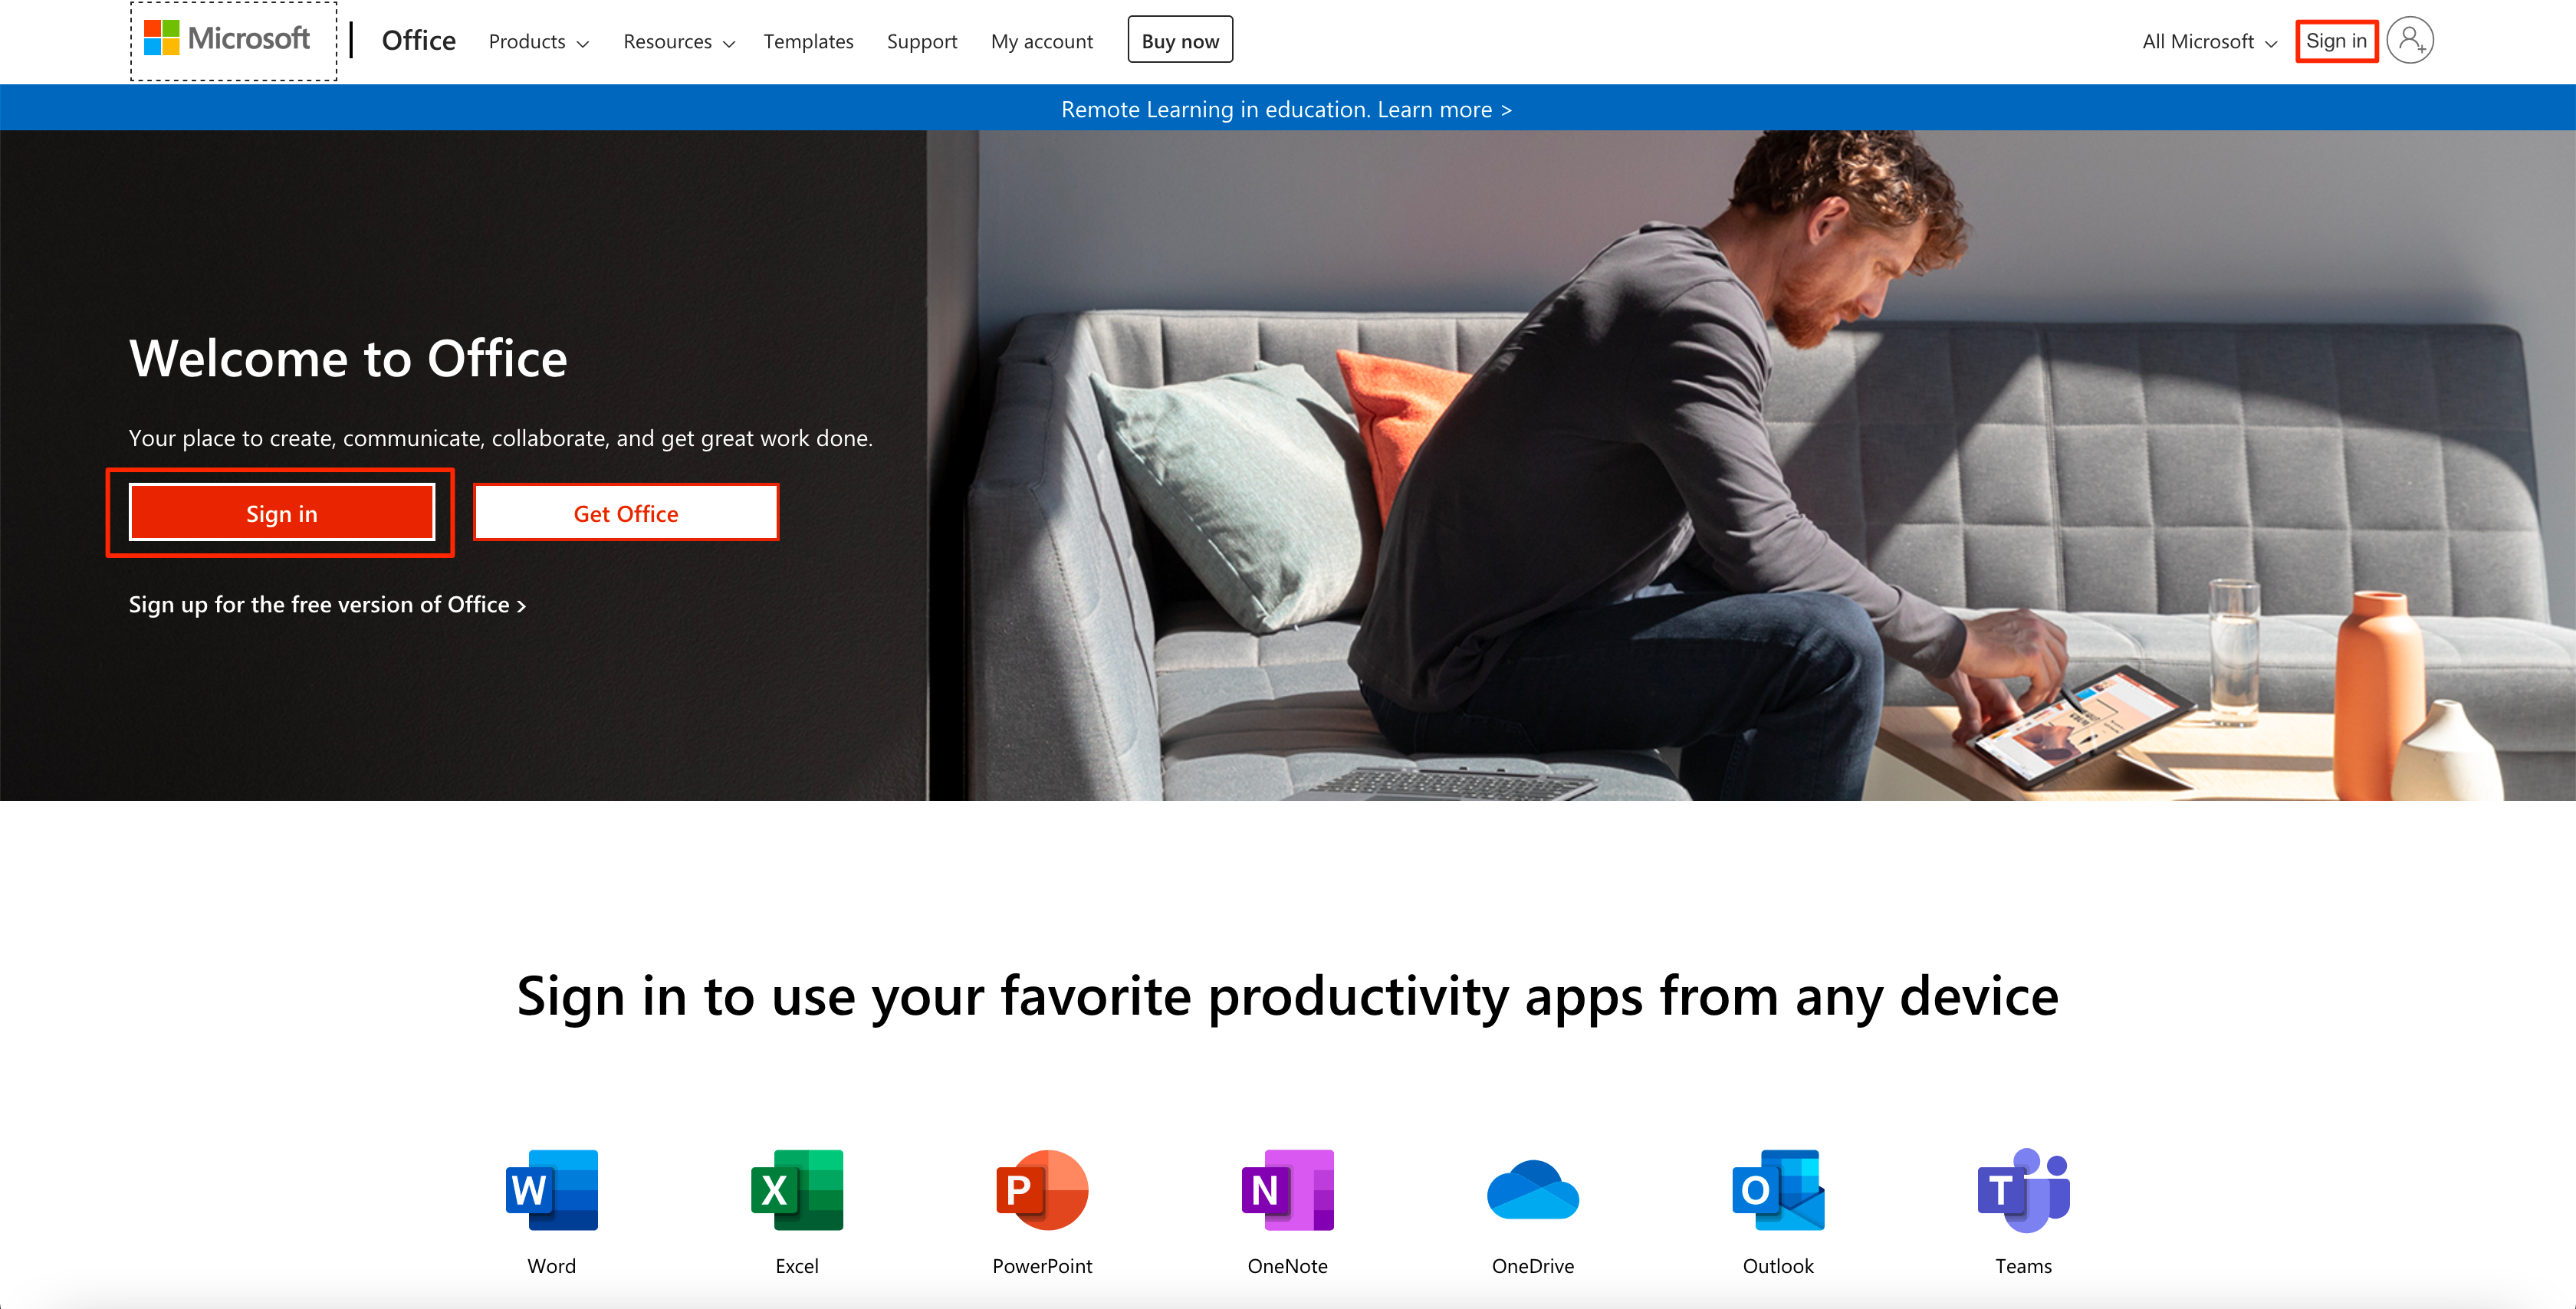
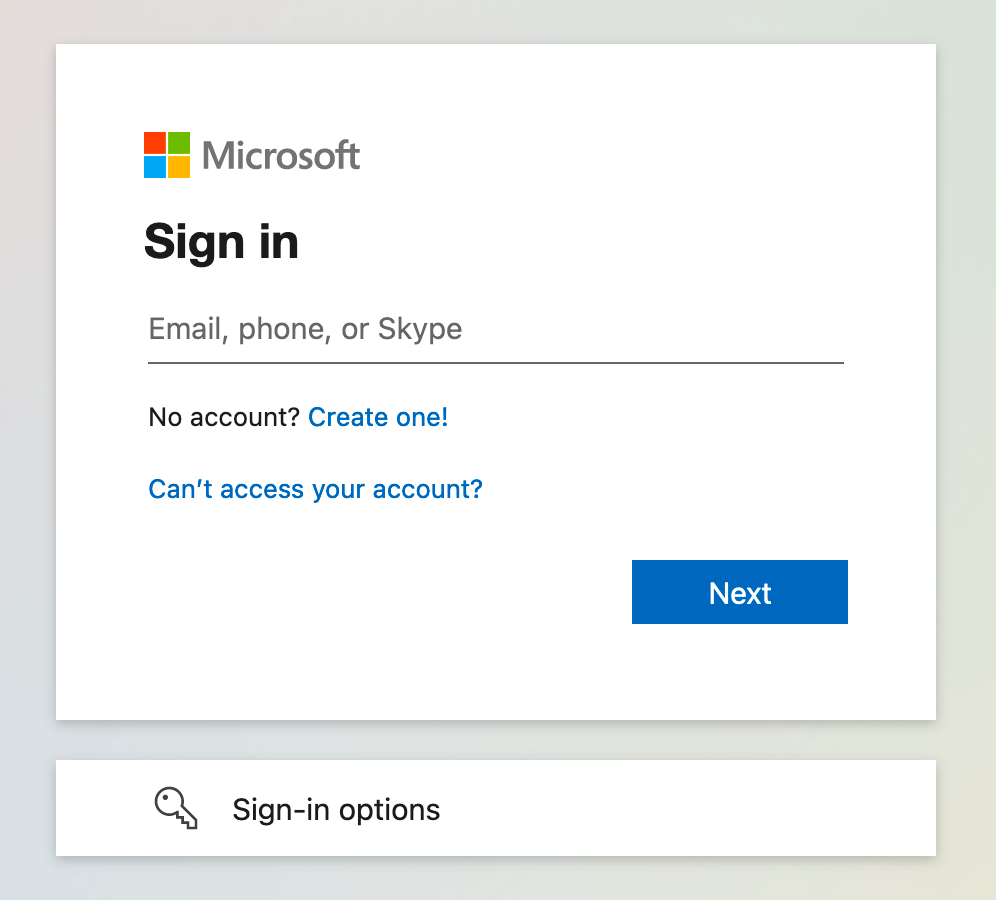
To test the integration, open a browser and navigate to the Azure application selected in this section, click Sign in
You are redirected to Azure Active Directory sign in page, type in your Azure Active Directory username and click Next
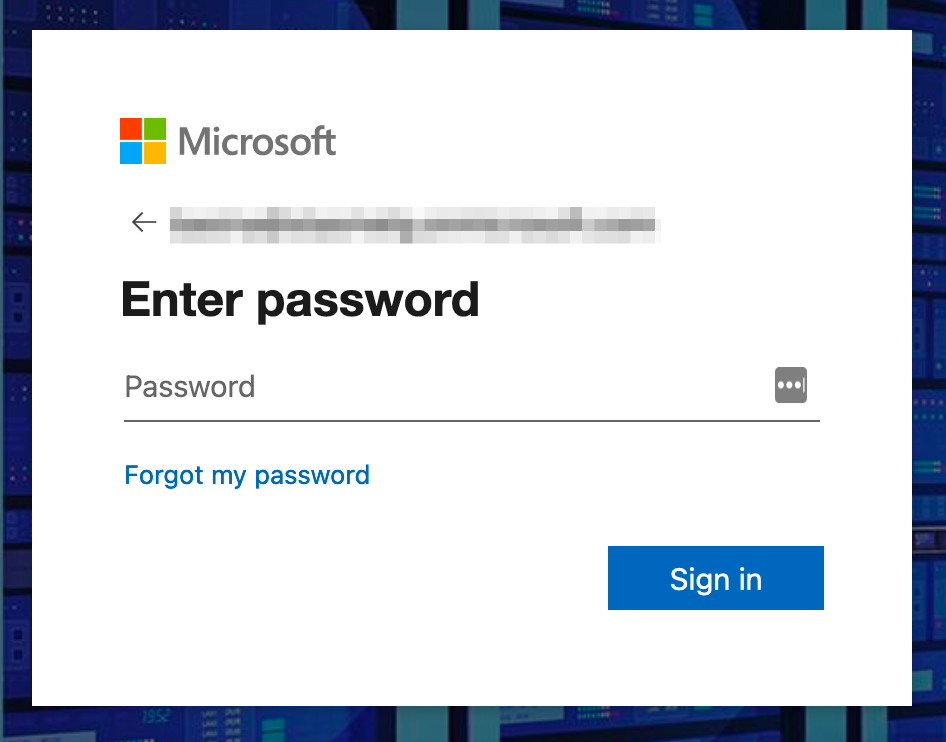
Type in your Azure Active Directory password and click Sign in
You are redirected to SafeNet Trusted Access authentication page, type in your OTP (using any OTP authenticators assigned to your user) and click LOGIN

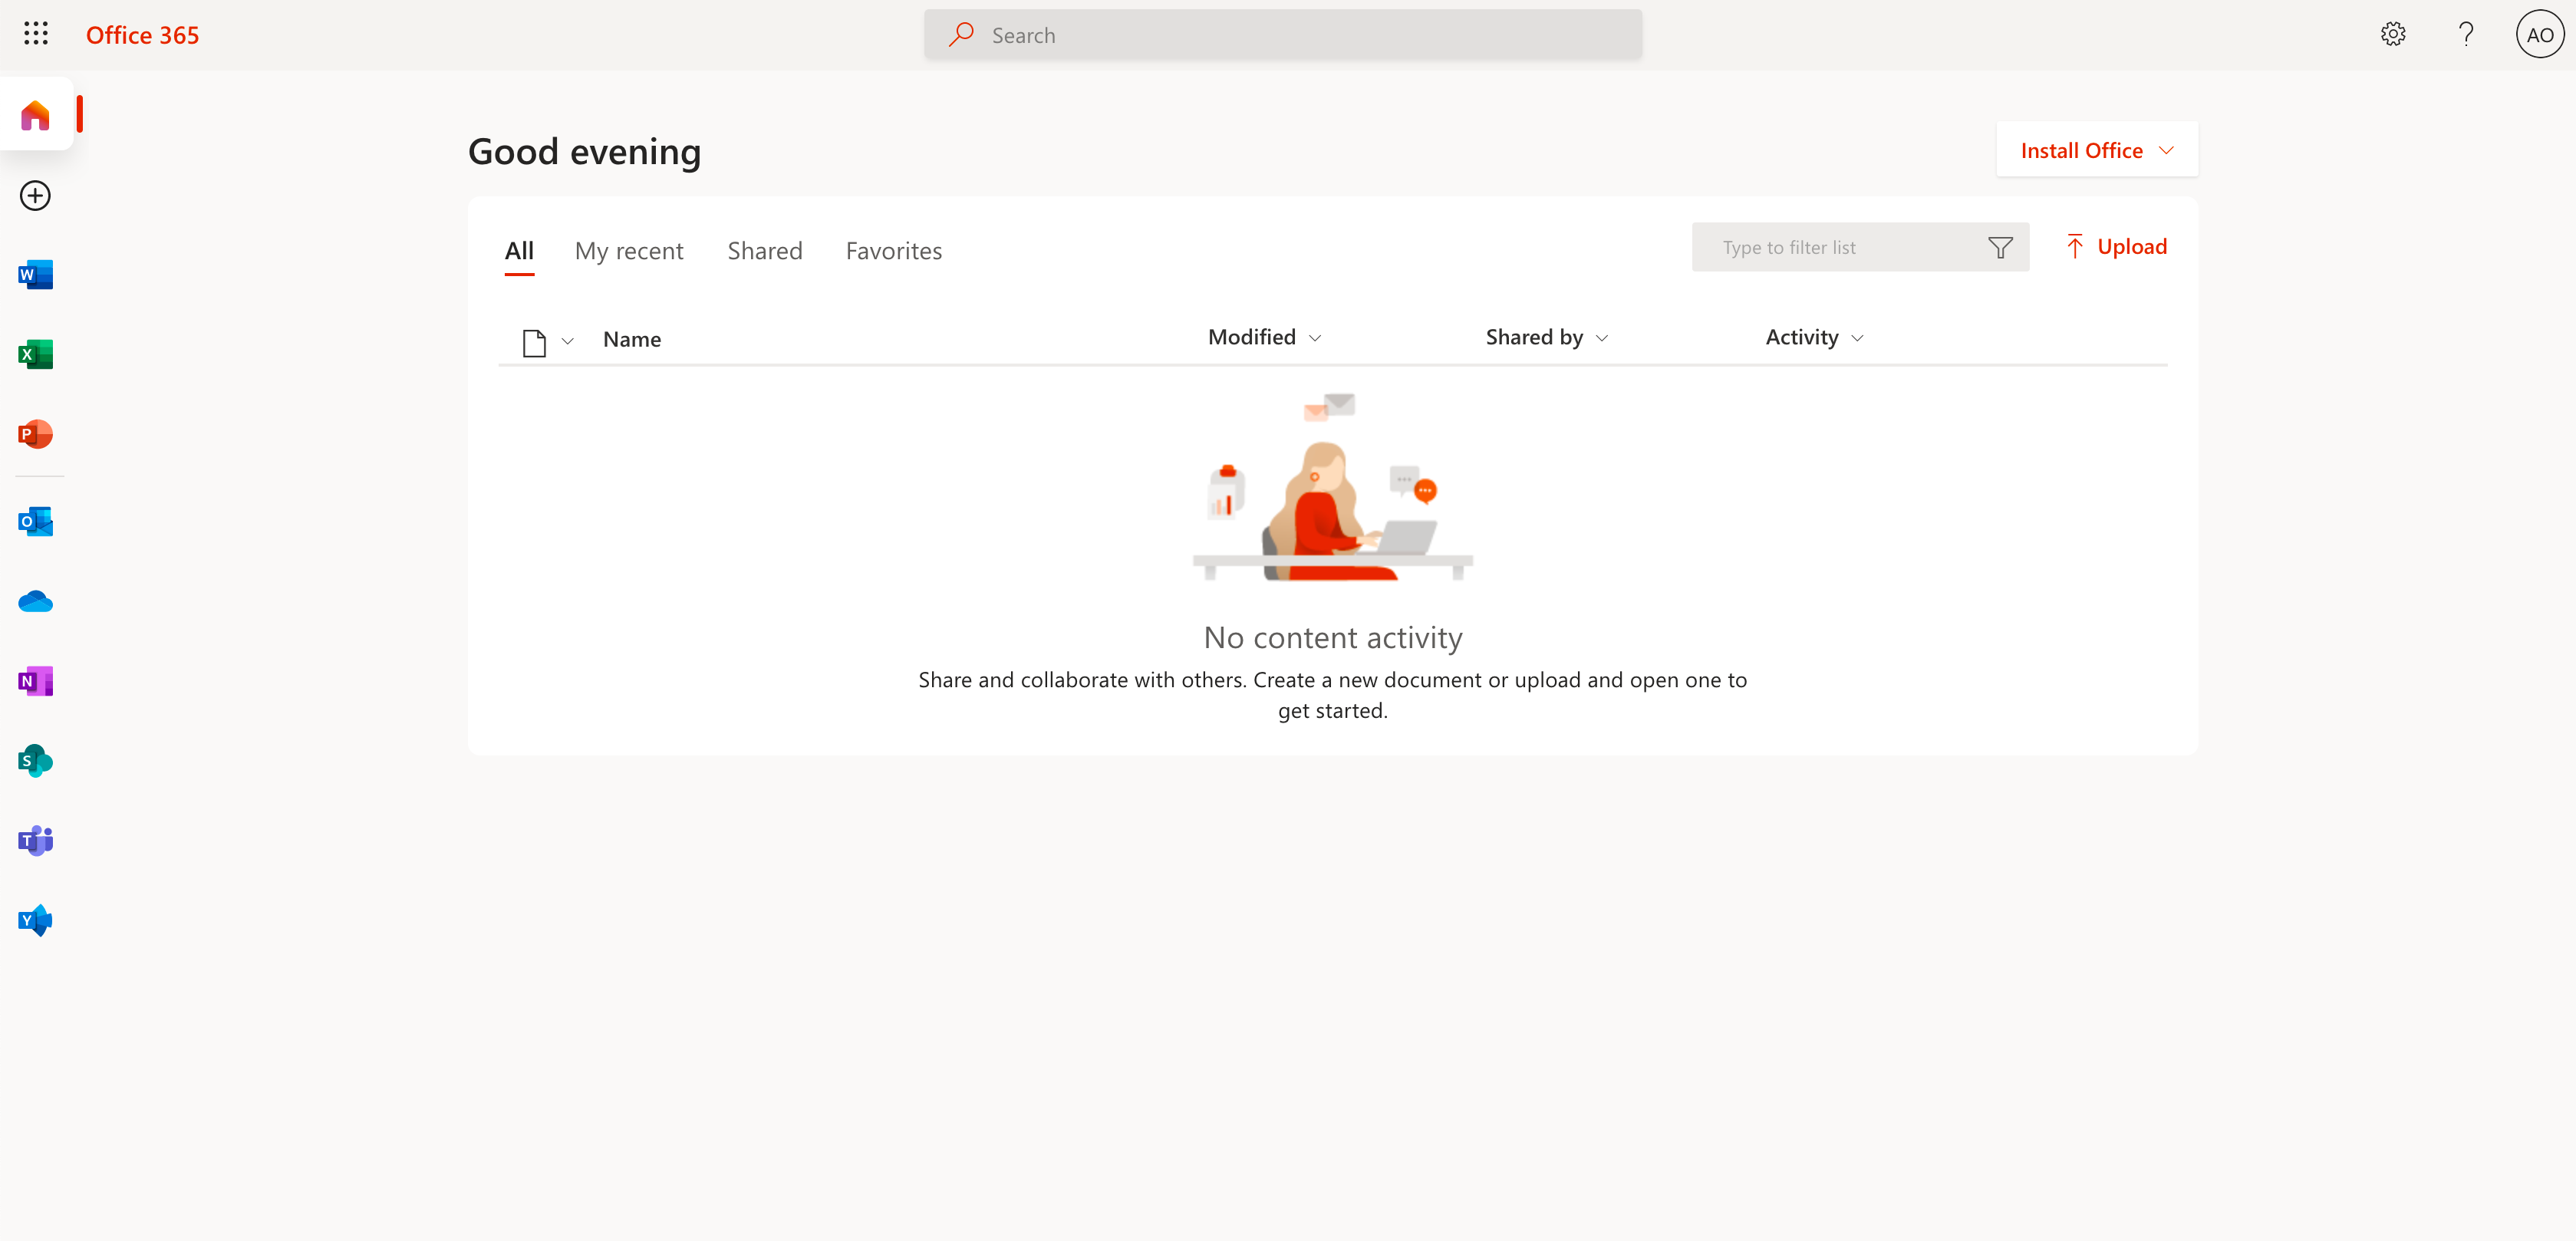
You are redirected back to your application and logged in
Solution Overview Video
Troubleshooting
With Custom Controls implementation, the username matching between Azure Active Directory and SafeNet Trusted Access is based on UPN. Currently, the only way to get the user’s UPN into SafeNet Trusted Access is through synchronization from Active Directory, using SafeNet Trusted Access Synchronization Agent. In case the user identifictaion fails after redirect to SafeNet Trusted Access, verify the UPN matches between Azure Active Dirctory and synchronized user in SafeNet Trusted Access.